
Did you know that more than half of the U.S.’s 2.5 million annual burglaries are home invasions? That’s right — criminals aren’t just targeting big businesses. They often break into homes, hoping to make away with cash, jewelry, electronics, and medications.
Are you wondering how to protect your home and family? Deadbolt installation is an excellent home security solution. Some homeowners don’t mind taking on the project themselves to lower the deadbolt installation cost. Others prefer to hire a professional for the task.
If you’re curious about how the process works, you can read our simple step-by-step guide on installing a deadbolt below.
Step 1: Refer to the Manufacturer’s Instructions.
Our guide should provide a comprehensive overview of an at-home deadbolt installation, no matter what kind of deadbolt you purchase. However, you should always follow the manufacturer’s instructions for your specific product.
The brand you buy from will often provide a detailed template to help you install the deadbolt. This template will work well with doors of varying thicknesses, and it comes with reference points that you can mark using a small pointed tool.
Step 2: Cut a Hole for the Deadbolt.
You should always install a deadbolt lock anywhere between 6 and 12 inches above your doorknob. Begin by attaching a pilot bit to your hole saw, and use the device to cut the hole for your deadbolt.
Stop cutting when you see the bit come through your door’s other side. You can finish the hole from the other side to prevent cutting yourself on splintered wood.
Step 3: Drill a Hole through the Door’s Edge.
Set up a regular drill with a 7/8″ spade bit. Drill a hole through your door’s edge. This hole will be for the bolt.
Step 4: Join the Area Surrounding the Faceplate.
Fit your deadbolt into the hole you just drilled. Trace around the faceplate and make it flush with the door by using a wood chisel to turn the area into a four-sided hole that will fit the tenon.
As you use the chisel, ensure the beveled side stays in toward the mortised area. You may need to use a smaller chisel, as mortising the non-rectangular corners can be difficult.
Step 5: Secure the Bolt to Your Door.
Keep using the chisel to create your four-sided hole. Don’t stop until the faceplate can fit perfectly.
Then, you can drill pilot holes and use screws to attach the bolt to the door.
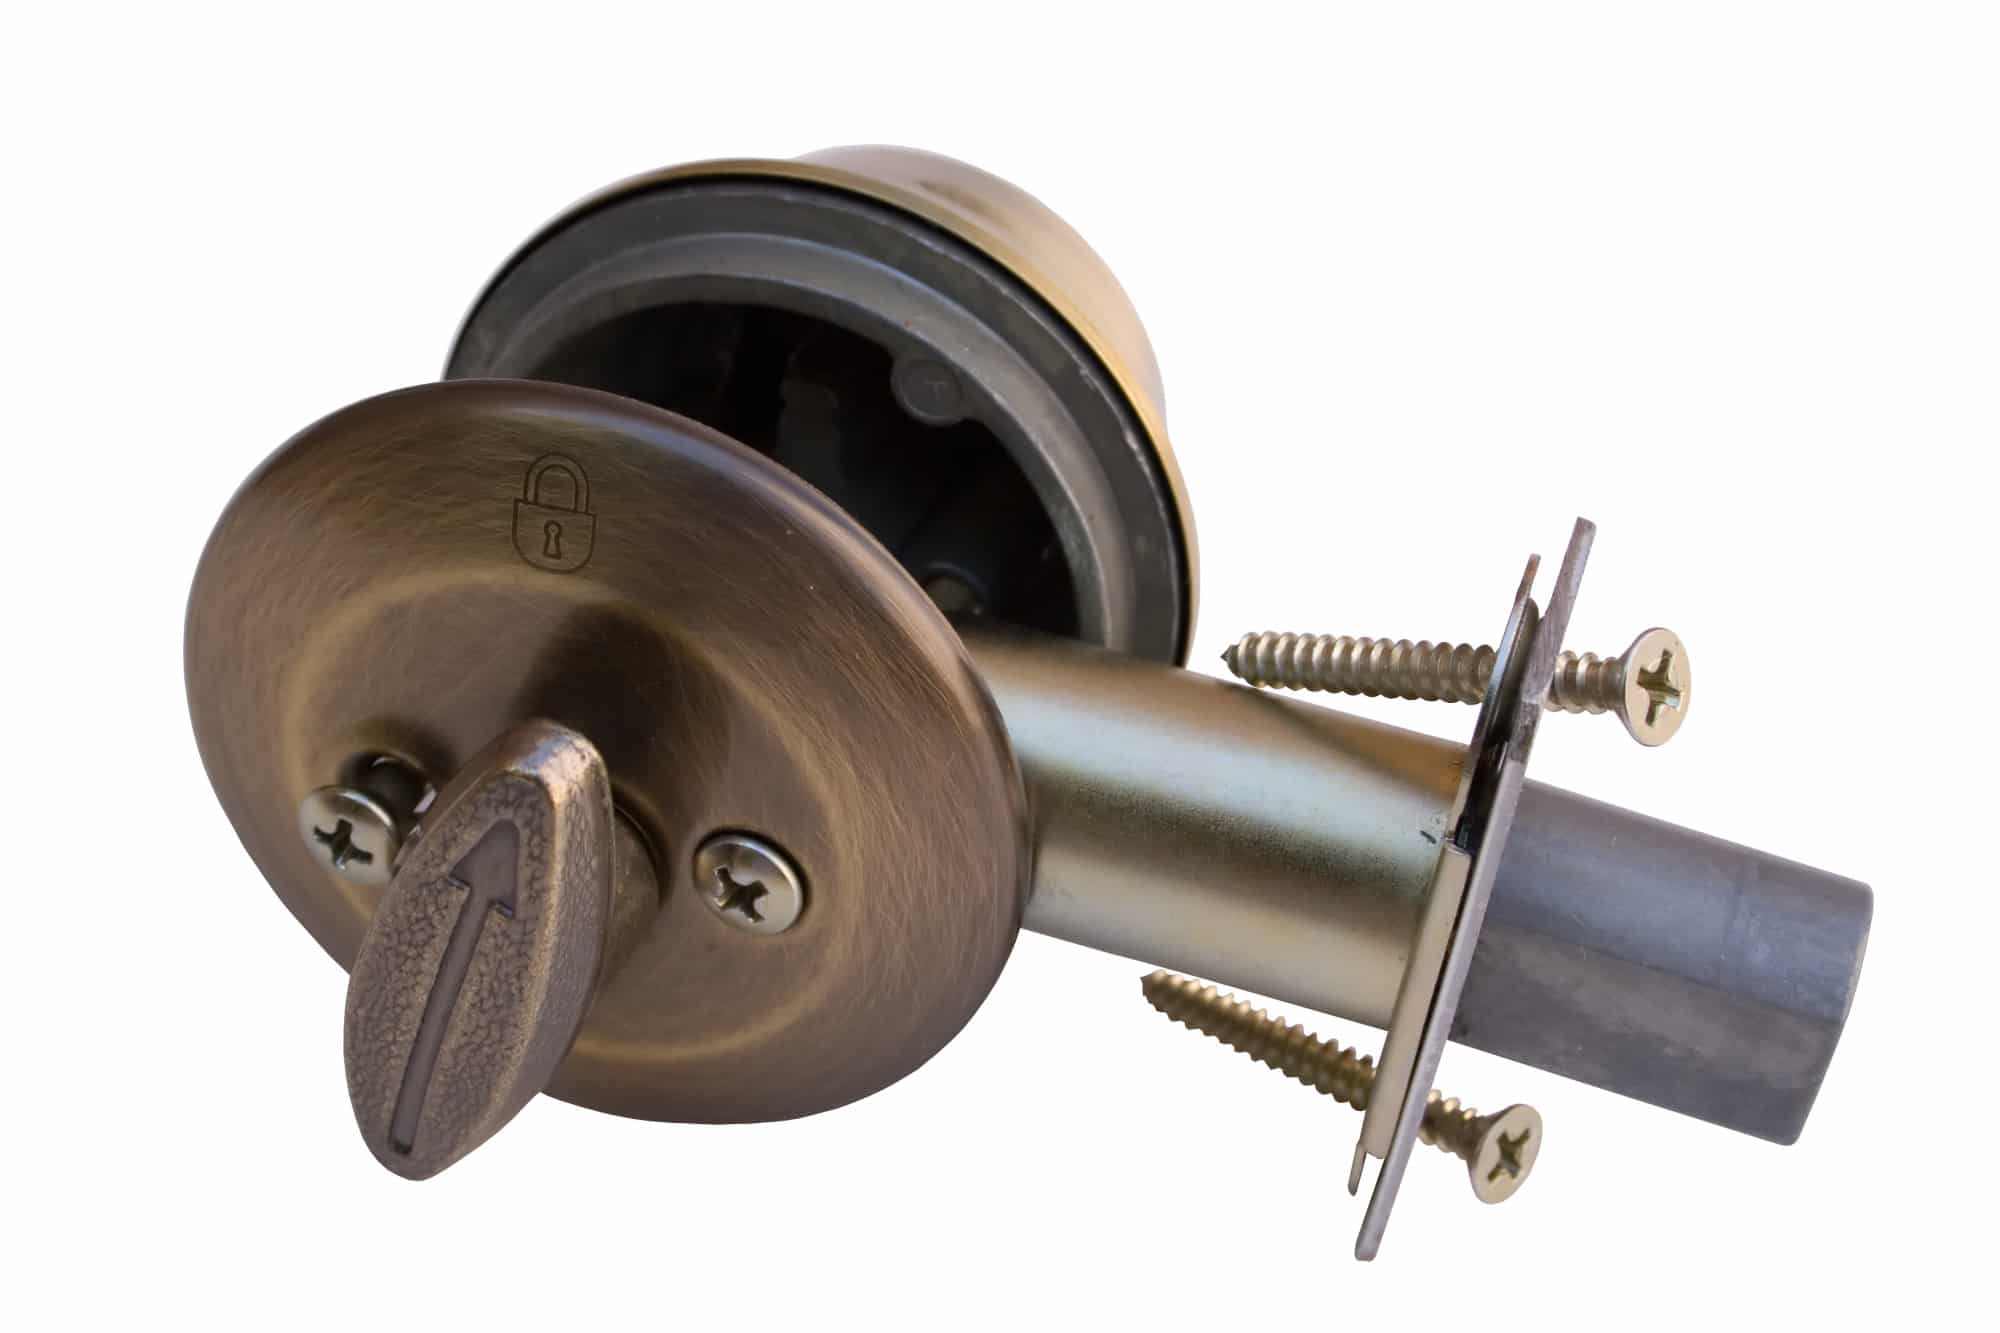
Step 6: Install the Cylinder and Thumb Lever.
Perform a test run to learn how the thumb-turn plate and cylinder will fit together.
At this point, you can fit the outer side onto the door. Then, place the interior piece into position.
Align the mounting holes and screw holes and secure the deadbolt with screws.
Step 7: Drill Holes & Bind the Faceplate.
Use a marker to label the end of your deadbolt and close the door. Turn the deadbolt a few times to mark the doorframe.
Use the spade bit from earlier to create two overlapping holes in your door’s frame.
Once again, you’ll need to mortise the area so that the strike plate can sit properly.
To complete the task, you can drill pilot holes and install the striker plate using screws.
DIY or Professional Deadbolt Installation: Which Is Right for Me?
If you think you can tackle these steps, go for it! All you need are the right tools and a bit of patience to learn the process. And don’t rush the installation — aligning any pieces incorrectly and drilling holes improperly can leave you with extra work that you weren’t looking to take on.
Keep in mind that deadbolt installation can be intricate, and some homeowners prefer to leave the task to an expert. Call our team at Best Locksmith for professional deadbolt installation for your home!